I would recommend reading parts I and II first.
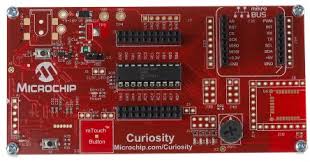
Microchip had recently released set of development boards which really helped to ease microcontroller development – Curiosity Boards.
I got this one.
Let’s create our first project for it. It would be the same Blinking LED. But first clone this Git repository.
Switch back to MPLAB X IDE, go to File -> New Project.
– Microchip Embedded; Standalone Project
– Family: Mid-Range 8-bit MCUs (PIC10/12/16/MCP); Device: PIC16F1619
– Supported Debug Header: None
– Select Tools: Microchip Starter Kit [-> Curiosity (if it’s plugged in)]
– Select Compiler: XC8 (v…)
– Project name Hello1619; Project location: where you cloned my Git project; check ‘Use project location as the project folder’
– Finish
– Right click on Source Files in Project Tree (on the left side) -> Add Existing Item… -> Select main.c
– Go to Production and click on Build Main Project
if everything went according to plan you should see ‘BUILD SUCCESSFUL (total time: …)’
Curiosity board include build-in programmer. Latest MPLAB Studio also includes everything you need to program it.
So all you need to do now is click on icon “Make and Program Device Main Project”.
If all went well you should see red LED start blinking with a 3 seconds interval.