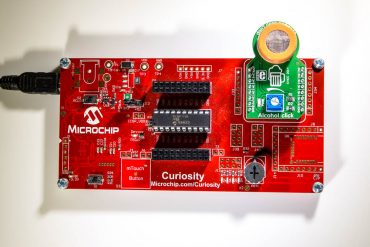
Let’s continue with Mikroelektronika Clicks. This time we will be using Alcohol click. Plug Alcohol click into Curiosity board and connect it to you USB port. Open MPLAB X IDE, and go to File ->[…]
Tag: PIC
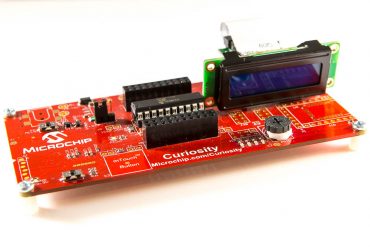
LCD mini click and Curiosity board
Now that we know how to use at Microchip Code Configurator let’s explore it full potential. Microchip Curiosity boards support mikroBUS socket. Let’s see how we can use it. As a first test we will[…]
Calculator with PIC microcontroller (PIC16F690)
Let’s create simple calculator using microcontroller. I will be using Microchip PIC16F690, LCD Display (1602A-1), and “4×4 Universal 16 Key Keypad For Arduino”. We will start with creating simulation with Proteus and then create real[…]
PIC microcontroller, part III
In Part I and Part II, and in PIC Curiosity we learned how to create a project, build it, test it and deploy on a PIC microcontroller. Now we need to learn how to do[…]
PIC Curiosity Board
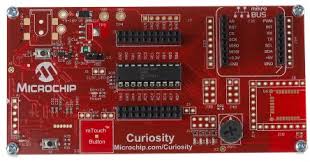
I would recommend reading parts I and II first. Microchip had recently released set of development boards which really helped to ease microcontroller development – Curiosity Boards. I got this one. Let’s create our first[…]
PIC microcontroller, part II
Now let’s use real microprocessor. For this project we will need microprocessor, programmer and scheme with LED which we used in Arduino and Raspberry Pi projects. Also prerequisite is that you completed project in part[…]
PIC microcontroller, part I
And now let’s go to the lowest level – microcontrollers. That’s what drives every electronic device around you. I found this one in my drawer: PIC16F690. You can buy ‘raw’ device or buy experimentation board,[…]


