And now let’s go to the lowest level – microcontrollers.
That’s what drives every electronic device around you.
I found this one in my drawer: PIC16F690.
You can buy ‘raw’ device or buy experimentation board, like this one here.
Also to upload you program to microcontroller you will need what’s called programmer. If you are following me with PIC brand then buy this programmer here.
Now let’s setup environment.
Download and install MPLAB X Studio here
Download and install compiler here. For PIC16F690 you will need 8-bit compiler.
Download and install Proteus VSM here.
Once you install X Studio, launch it and go to Tools -> Plugins -> Available Plugins and enable Proteus VSM Viewer.
Now let’s create our first project. But first clone this Git repository.
Switch back to MPLAB X IDE, go to File -> New Project.
– Microchip Embedded; Standalone Project
– Family: Mid-Range 8-bit MCUs (PIC10/12/16/MCP); Device: PIC16F690
– Supported Debug Header: None
– Select Tools: Proteus VSM Viewer
– Select Compiler: XC8 (v…)
– Project name 01_BlinknigLED; Project location: where you cloned my Git project; check ‘Use project location as the project folder’
– Finish
– Right click on Source Files in Project Tree (on the left side) -> Add Existing Item… -> Select main.c
– Right click on 01_BlinknigLED (tree root) -> Properties -> Select Proteus VSM Viewer in the left panel -> Click on empty field at Design file name -> browse to project folder and select PIC16F690 Blinking LED.pdsprj -> OK
– Go to Production and click on Build Main Project
if everything went according to plan you should see ‘BUILD SUCCESSFUL (total time: …)’
And now the moment of truth. Go to Debug and click Debug Main Project.
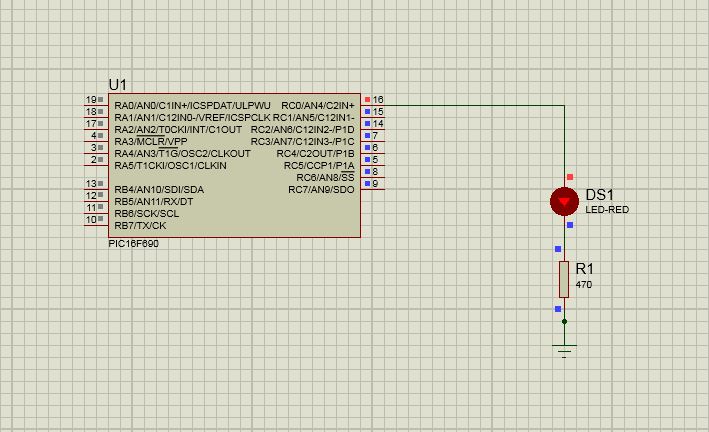
Proteus 8 should appear and you should see blinking LED. Hurray!

Switch back to MPLAB X IDE and go to Debug -> Finish Debugger Session to stop.
In part II we will run it on a real device, so go shopping and be ready.