Let’s switch gear and switch to micro controllers.
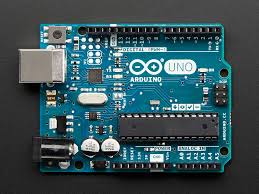
The best way to start is with Arduino.
You can buy just the board, or start-up kit like this one.
Next step is download and install studio appropriate for your operating system.
If you buy the kit it should come with a nice brochure which allows you to do first steps.
If just the board – no worries, Arduino Studio is full of examples.
In the world of micro controllers there is Hello World as well, but since most basic schemes don’t have display Hello World is done with blinking LED.
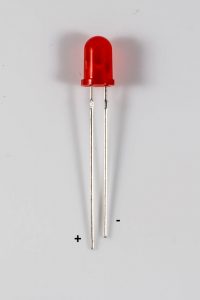
For this project you will need: Arduino board, breadboard, LED, ~330 ohm resistor, and some wires. If you didn’t buy Arduino kit you can buy electronic starter kit.
First note polarity of LED: short leg is negative.
Next make a scheme:
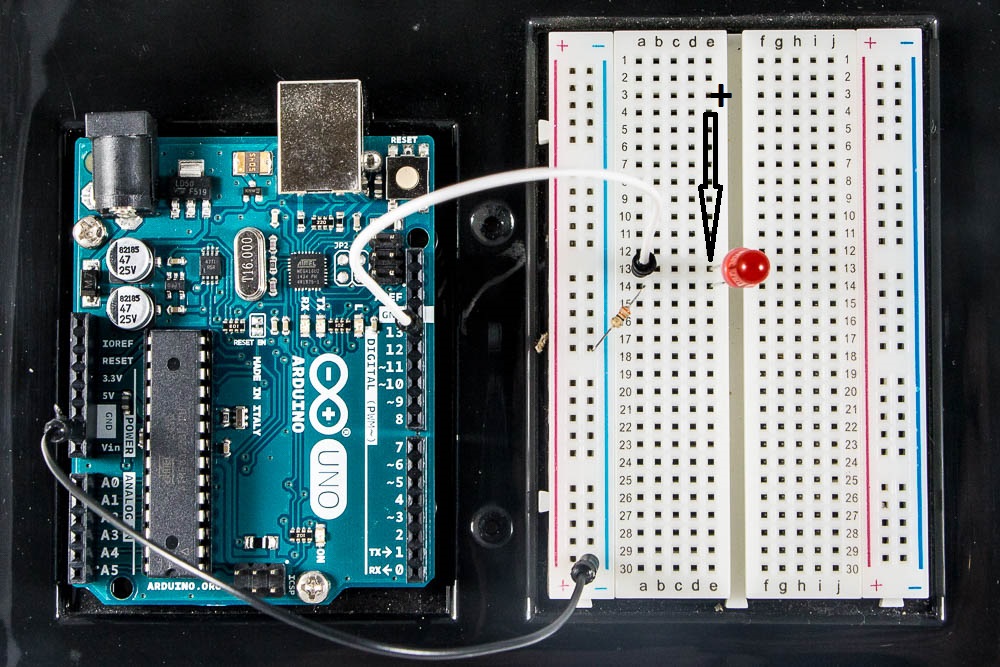
connect ground on Arduino board with ground of a breadboard;
connect #13 on Arduino board with #13 on a breadboard;
place resistor between ground of a breadboard and #14 on a breadboard;
place LED between #13 (positive) and #14 (negative) of a breadboard;
Next connect Arduino board to USB port on your computer.
Next Start Arduino Studio
– go to File menu -> Examples -> 01.Basics -> Blink
– go to Tools -> Board and select Arduino board you have
– go to Tools -> Port and select port where Arduino board is connected to.
here is source code:
// the setup function runs once when you press reset or power the board
void setup() {
  // initialize digital pin 13 as an output.
  pinMode(13, OUTPUT);
}

// the loop function runs over and over again forever
void loop() {
  digitalWrite(13, HIGH);   // turn the LED on (HIGH is the voltage level)
  delay(1000);              // wait for a second
  digitalWrite(13, LOW);    // turn the LED off by making the voltage LOW
  delay(1000);              // wait for a second
}
– click Upload (Sketch -> Upload)
and (if you selected the right port) you should see blinking LED. Success!
Now let’s do our more traditional Hello World.
Add two more lines to setup() function:
// the setup function runs once when you press reset or power the board
void setup() {
  // initialize digital pin 13 as an output.
  pinMode(13, OUTPUT);

  Serial.begin(9600);
  Serial.print("Hello World from Arduino!");
}

// the loop function runs over and over again forever
void loop() {
  digitalWrite(13, HIGH);   // turn the LED on (HIGH is the voltage level)
  delay(1000);              // wait for a second
  digitalWrite(13, LOW);    // turn the LED off by making the voltage LOW
  delay(1000);              // wait for a second
}
Now, before uploading the code, go to Tools menu and open the Serial Monitor. Verify that it’s setup to 9600 baud.
Click Upload and now you should see LED blinks again and in serial monitor you should see your greeting.
Basic demo functions you can find in this github repository.